Set up Rubrik Brik.

Introduction
Today, I had the honor to, after a while, bootstrap a Rubrik Brik again.
This setup is quite limited in the way that it is just a basic bootstrap of a 4 node cluster and afterward registering it with Rubrik Security Cloud (RSC).
We'll go through the initial steps to perform, specific to the use case I was in.
Network
In our case, the current existing network setup was as follows:
- Untagged 1 Gig UTP ports for 4 nodes their OOB
- Tagged 10 Gig SFP+ ports for the 4 nodes their data/management traffic.
Bootstrap preparation
To be able to easily reach the OOB network, and execute the bootstrap from there, we decided to assign the static IPv4 addresses to the IPMI upfront.
This can be easily performed when you have physical access to the nodes with a screen and keyboard connected.
Simply physically connect to each node, one by one, and log in with the default credentials username admin and password rubrik
Once you're in there, you can run the following command (tab will autocomplete):
network ipmi setThis will prompt for the necessary parameters to statically configure the IPMI. Repeat this for all the nodes.
Once this is done, confirm you can access the IPMI page by browsing to the IPMI IP in your browser.
You'll be greeted with a screen similar to this one.
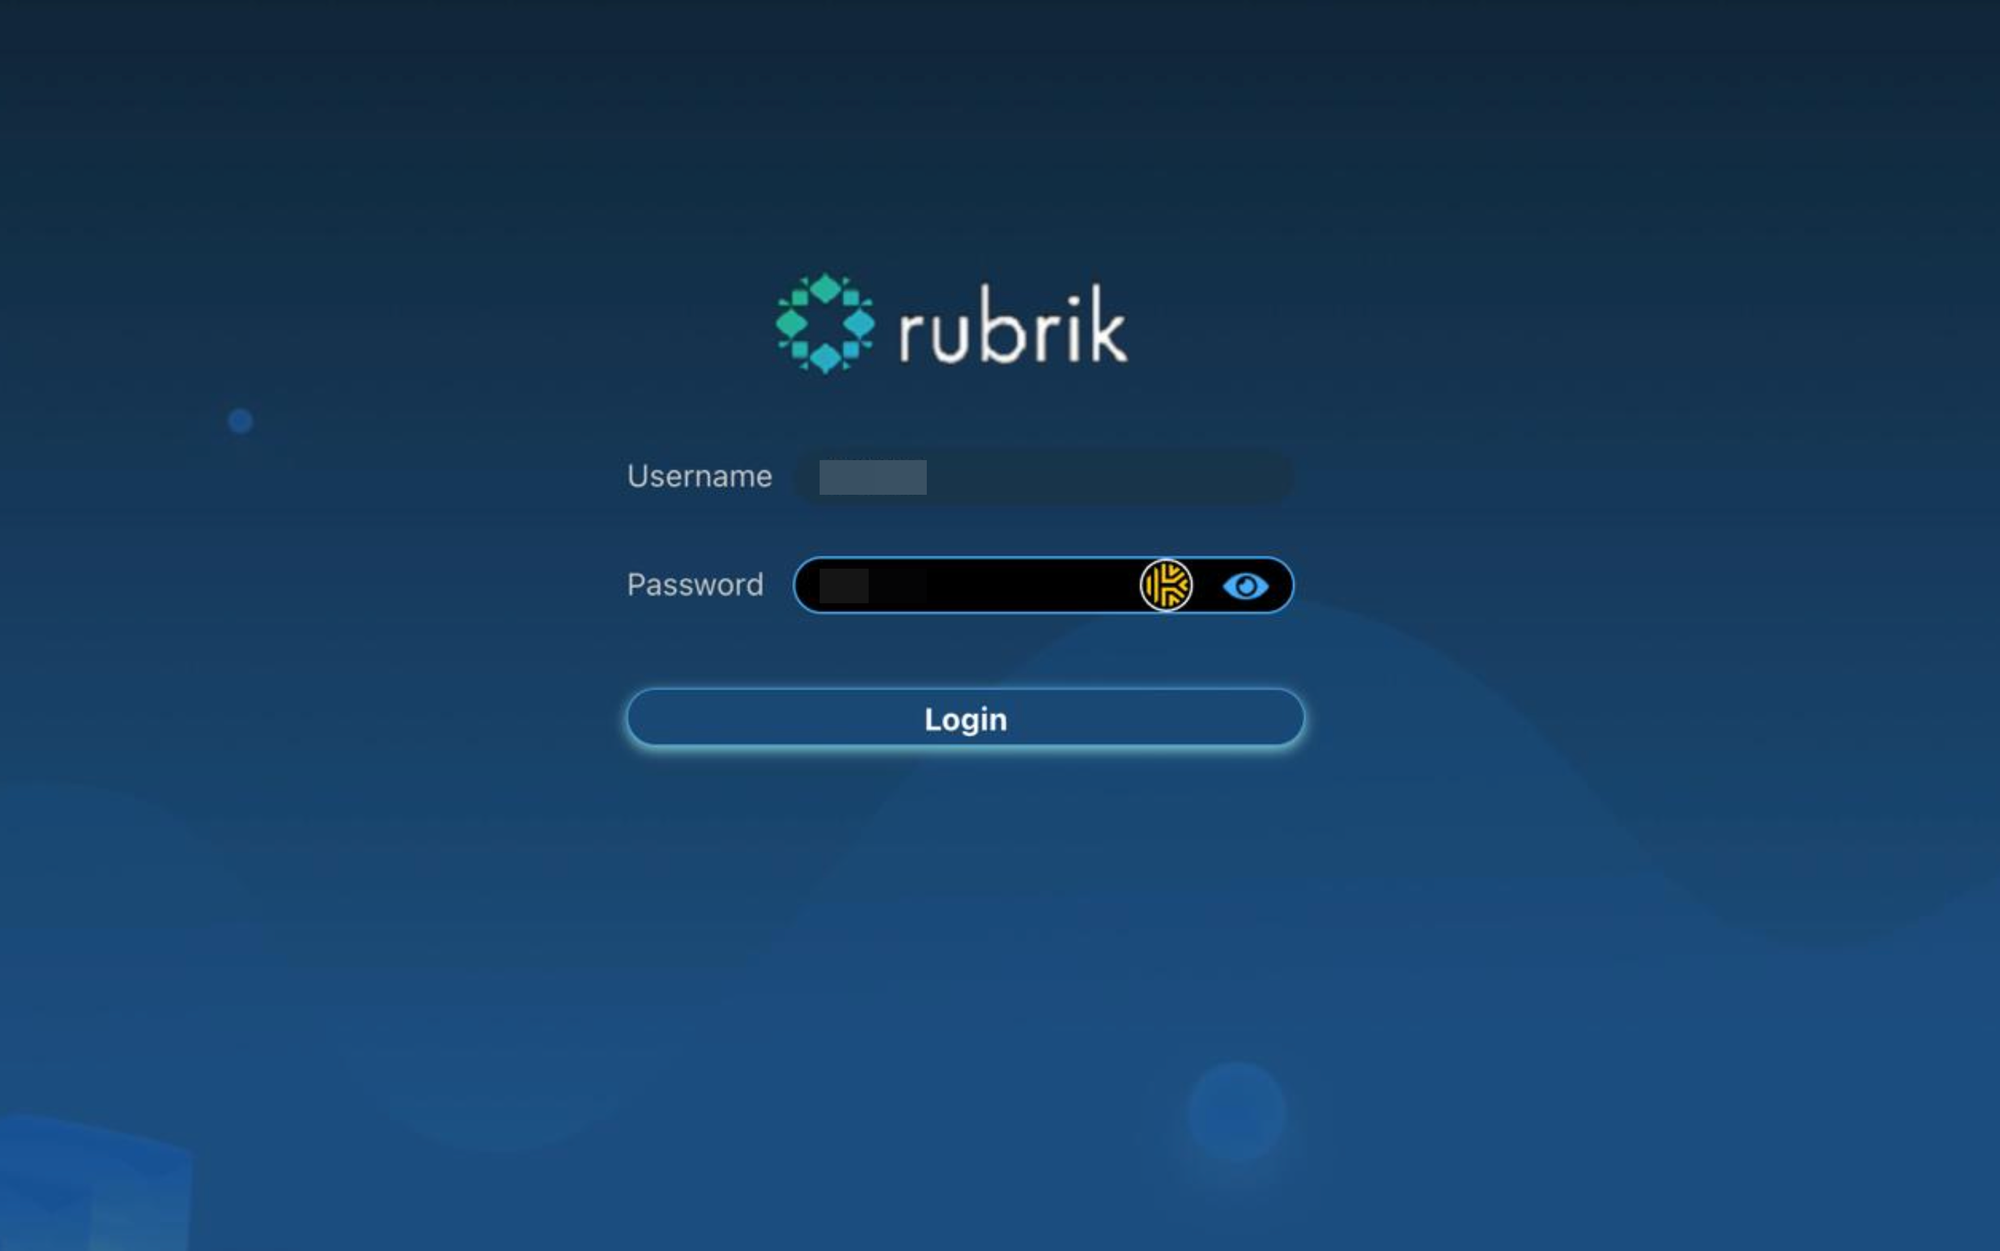
Log in with the default credentials for the IPMI, which are username ADMIN and password ADMIN.
From there we'll open a console screen to one of the nodes and confirm we can sign in again with the credentials mentioned earlier.
Bootstrap execution
Once we're in there, we'll first want to validate whether we can discover all the nodes from this particular node.
To set up the VLAN tags on the bond being used for the Rubrik data and management traffic, we'll use the following command in the IPMI console.
network broadcast_interface setupOnce you run that command, it will prompt for the VLAN tag to assign. Repeat this also for all nodes.
Once that's done, we can validate whether the nodes can indeed discover each other.
For that, you can run the following command
cluster discoverIf all went well, you'll see an output similar to this.
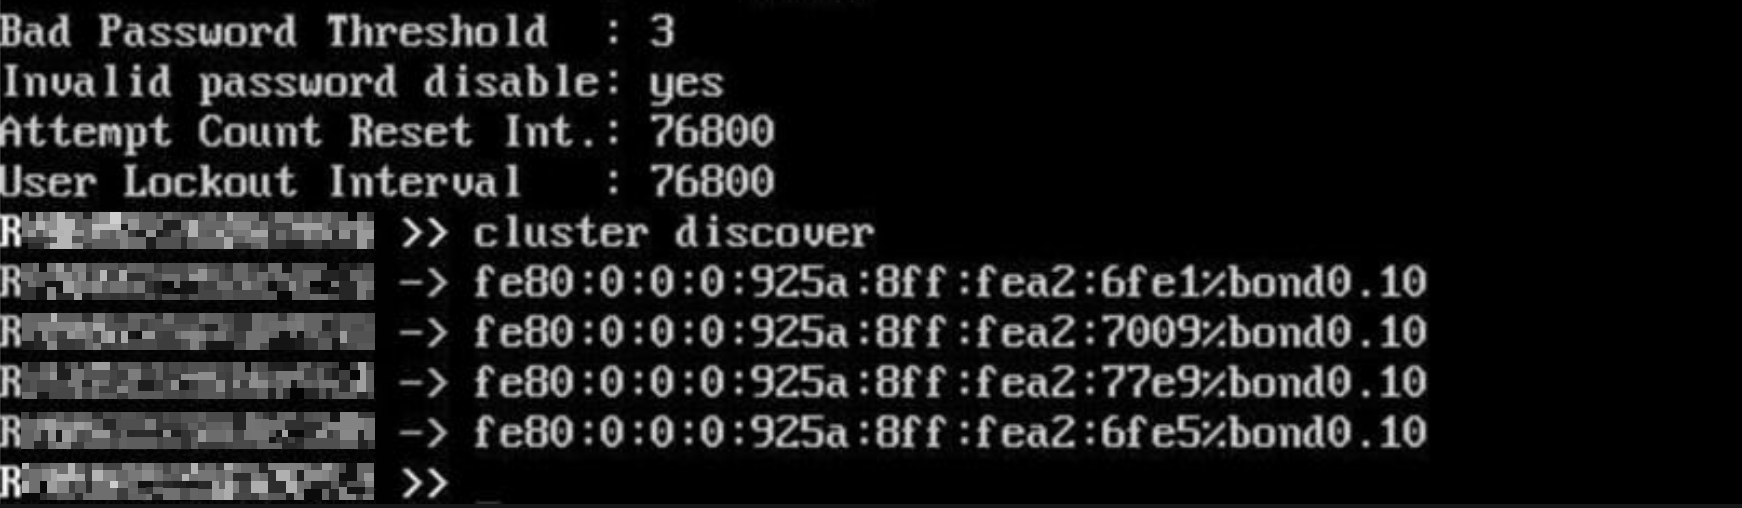
This means all the nodes are being discovered as expected in this case.
Next we can run the following command, to start the bootstrap process.
Cluster bootstrapYou'll need to fill in some required parameters, such as, the cluster name, admin e-mail, password, network parameters like NTP, DNS, ...
Once these are all done and the nodes are properly defined on how to set up, you can proceed with the process.
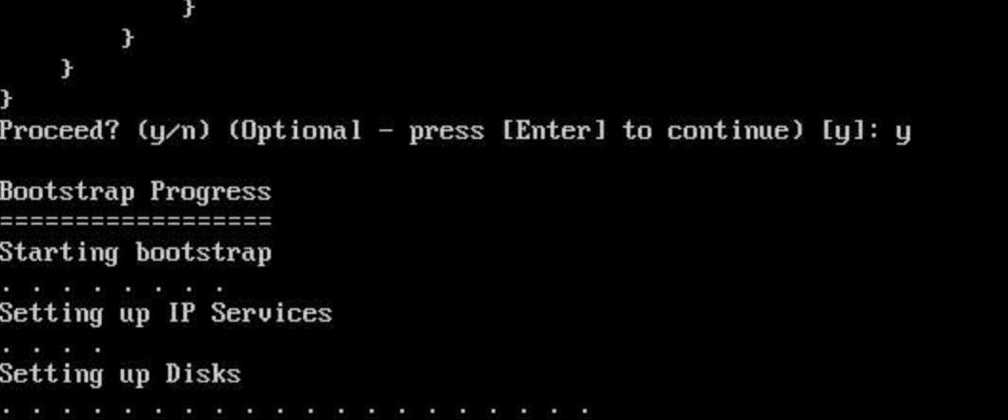
Review the provided parameters once more, and press "y" to initiate the bootstrap process.
You'll notice the process starting and running through a few steps.
Once the IP services are done, you may also connect to the configured IPv4 IPs and follow up on the progress via the GUI, as seen below.
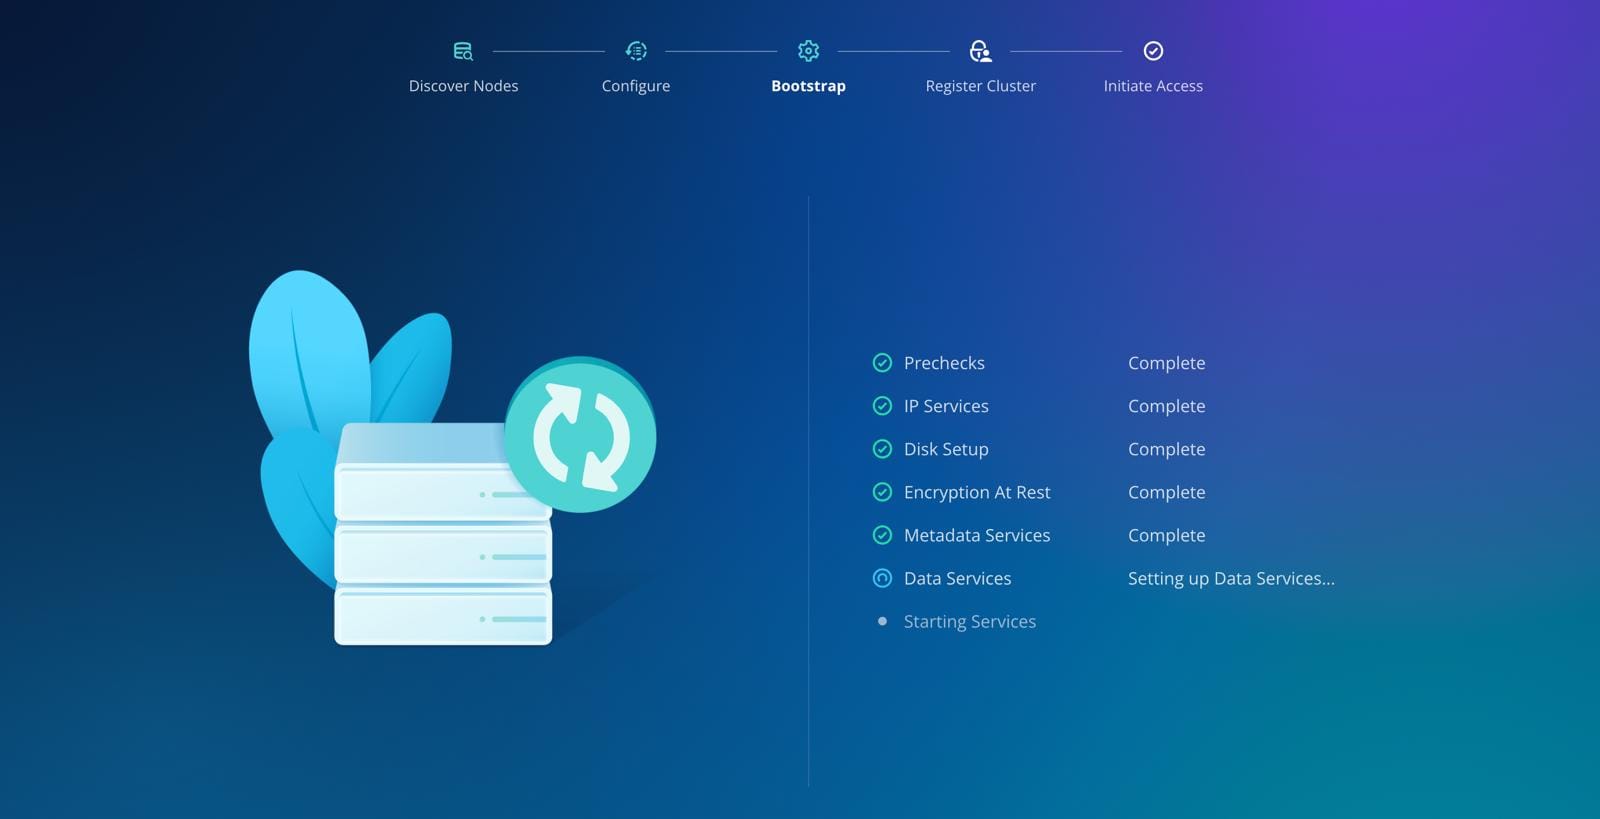
Once the process is finished, you've successfully bootstrapped a Rubrik cluster. Congrats! 🙌🏻🍾
Next up, in another blog post, I'll discuss the next step, which is registering the cluster.